Showing posts with label DIY sessions. Show all posts

In DIY sessions TaoBao ZoelieWho

How to buy from Taobao without Agent

So have you been wondering how can those people shop on Taobao on their own while you're here worrying the safety of the service and rather spend money to hire agents instead?

Well, seriously, you can stop that now. Unless, you don't understand Chinese, or you don't know anyone who understands Chinese.

If you do, good news for you! because I just made a video about buying it on. your. own.
Yes! On your own!

I will put the video here once it's available on blogspot but since I can't do that now, here's a link to it :) As promised, here's the video :)

Read More

Share Tweet Pin It +1

0 Comments

In DIY sessions ZoelieWho

DIY | Homemade Mc Flurry

Hello there :)

This post here is about making your own Mc Flurry ice cream, doesn't matter if you wanna eat it with Oreo or M&M, this simple recipe could satisfy your desire towards McFlurry without paying too much.

I remember McFlurry was once less than RM3 and that was the time when they offer a bigger portion with a bigger cup. Now, they are selling a smaller portion of Mc Flurry in a smaller cup (about one small bowl of it) at the price about RM3.50 - RM5, which is insane!

I can actually make bowls of McFlurry Oreo without paying so much :)
All I need is just any sort of Vanilla Ice Cream, any sort of normal milk and some oreo crumbs.

I bought a tub of Magnolia Vanilla Ice Cream for RM8.80, milk is about (RM6 but let say I need only a small portion of it) RM2 and a pack of chocolate sandwich biscuits for around RM2.80 (cream-o ) to RM4 (oreo).
Adding them together and the whole thing will cost me about RM13.60 - RM14.80.
With that, I can make around 6 bowls of Mc Flurry Oreo, which costs me around RM2.37 per bowl.

So how did I make it?
I take a bowl of ice cream, adding 1 to 4 teaspoon of milk (depending on the texture of the ice cream that I want it to be) and then I add oreo crumbs.
Easy as that :D

Just take any amount of ice cream you like, add in some milk and any amount of oreo and tadaa! you have your own a McFlurry.

So yeah, that's how you make it :)
Go and have fun making your own ice cream and that's pretty much all for this post .

Read More

Share Tweet Pin It +1

0 Comments

In DIY sessions ZoelieWho

DIY | Book cover with Shadowhunter Runes

Hello guys :D 
Today, I wanna share with you a mahstahpeese of mine AND I LOVE IT SO MUCH!

I had hours to waste until I get my bumbum into college and I thought 
"Hey, why not make something to show off in college?" 
Well, maybe not showing off because some bullies may come to me and say "Hey, freak. What's that in your hand, princess tattoo?" or "Hey cult, done with your satanic practise?" aand then laugh.

Now, I'm not saying that there ARE bullies who did bully me, but, you'll never know, right


So I recently just remembered that my sister stuffed two bags of recycle goods into my room.
One is a bag of used books and one is a bag of tore-off-papers-from-books.
Then in one of the bags, I found two hardcover school notebooks and I thought I could use it for college
......
BUT NOT WITH THE ODD COVER!

So I kinda rummaged my stuff and found a black manila paper.
I was having a headache about the cover and I even went to the Type online store page to see if I could make something like theirs BUT the runes popped out and 
TAAADAAAAA
my very own Black Book!


Now the shadowhunters have the Gray Book with informations about the Runes but I'm just a shadowhunter-wannabe so I won't need the descriptions in the book.
What I need is, THE RUNESSSSSSSSSS.


I basically had the front cover of the book with runes arranged to my name.
By that, I mean that the runes that look like my name.

Then, I had the back cover with the remaining runes that I found in a 22 rune chart.
Soon later, I found some other runes in ShadowhunterWiki and 
I TOTALLY REGRETTED NOT VISITING THAT PAGE *cries a sea*

psssst. if you noticed, the Mourning rune is in white and Wedded Union is in gold.
 others are in silver, by the way. :3

So because my experience with hard manila and glue is not so... good, I decided to use hot glue since I'm so in love with it these days.
(check this Just Hot Glue Angelic Rune Ring if you haven't :D)
It holds the paper pretty perfectly, by the way.


If you're wondering what's with the extra glued paper at the top of the cover, it's because I had the design very wrongly.
I should have just leave it blank but my hands were itchy and I wrote
IN THE NAME OF 
RAZIEL
with very ugly handwriting.

Then at the side, I wrote SHADOWHUNTER because it doesn't look nice without anything.

This DIY took me about 4 hours of sketching and painting with paint markers.
I had 2 silver markers and 2 gold markers for the filling up.
I also had 1 of each silver and gold for the writing.
Sketching takes me about 3 hours and painting it is just a very simple task but it's easy to overfill the lines :/

So basically, that's what I did to my one and only left manila paper.
Yeeaaah, I know my drawing sucks but at least I love how it looks like from far hahahha
I know I've been pretty crazy about Shadowhunter Chronicles lately, but I must say, I love that chronicle by Cassandra Claire very much!

Also, about me selling Angelic Rune rings, earrings and necklaces; my stock is being dispatched at the moment and it may take about 2 to 4 weeks to reach.
I know.. I know.. it sucks!
But I'll make an announcement here once I got my website set up.
Again, I'm only selling to Malaysians because I suck at international shipping :/

Thanks for reading and have a great day!

Read More

Share Tweet Pin It +1

0 Comments

In DIY sessions ZoelieWho

DIY | Angelic Rune Ring with just hot glue!

From my previous post, you'll find out that you can actually make a crafty item just with hot glue. HOT GLUE and nothing else :D

So for this tutorial, I am just making something that is pretty easy, of course you can choose to make other designs but it may not be as easy as this one :3

So because I'll be getting my ring from a seller pretty soon, I'm not gonna be serious in this tutorial. I'll just give you a rough idea so that you can do it in your way.

I didn't take any pictures but here's a video for you :)

Read More

Share Tweet Pin It +1

0 Comments

In DIY sessions ZoelieWho

Hot Glue does not stick to what kind of surfaces?

Lately, I've been doing nothing and then one day, I found a video and I was inspired by the Youtuber, Aodhamair's project. (She doesn't know that, tho, so it's not a promoting thing.)

Hot Glue can be such a wonderful thing to be used in Crafty Art. You can use it to do different things such as masquerade masks, accessories, etc. However, it is pretty sticky and most of the things do stick to it.

Hot Glue, like the name, is designed to stick things via a glue gun. It needs heat so that it could be melted and then be used. Therefore, you need either a battery or electricity in order to use it.  But because it is burning hot, plastic stuff that is used as 'moulds' cannot be used as they will melt and stick with the hot glue itself.

Therefore, I did a little research on google. I find a few people claiming what the hot glue won't stick to and some of them are easy to get in the kitchen. Answers like kitchen foil(aluminium foil), wax paper, baking paper and even sticker paper were listed out.

With these answers, I did a little experiment with the following 4 materials and also with a clear file just to prove if they are right or wrong.


Most of them were wrong.


Yes, some papers are designed for the heat but not all can get rid of the stickiness of the glue.
The only one that allows the cooled Hot Glue to be peeled out with just liiiiiittle strength and no shape-changing is............... the baking paper! :D

If you don't believe me, here's a video to prove my conclusion :)
http://youtu.be/XWf8ZzzL0gI

Read More

Share Tweet Pin It +1

0 Comments

In DIY sessions Reuse ZoelieWho

DIY | Stele of Nephilims (Shadowhunters) in Shadowhunter Chronicles

*scroll down for the link*
*directs you to same blog but different post*

Ehlo guys, this is D-TTO
and
I just realised that the DIY project that I posted before was somehow similar to the stele in the Shadowhunter Chronicles (aka The Infernal Devices, The Mortal Instruments and MAYBE The Dark Artifices), for as I just watched the first movie of The Mortal Instruments.

What you need to know now is that :

  • the tip of the 'stick' does glow
  • the DIY for that is suitable for making both stele or wand
  • it is not a magical object, thus, it does no effect but to make your costume look more complete
  • it is safe and easy to do, especially with your parent's help with the hot glue gun

Now, because the DIY was supposed to be for 'witchery', you may need to change the shape a little bit BUT it depends on you because, for that DIY, you create your own style of 'stick'.

I won't say that I would want to make a stele exactly the same one like the ones in the movies, OR, the exact same wizard wand as the ones in the movies because it is really difficult to do so.

However, "the fate is in thy hand", you still ought to use at least a teeeeny-weeeeny bit of creativity.

The link will be posted here, instead of re-doing a DIY post, in order to avoid things like 'Duplicating Blogpost' to happen.

Enjoy :)

click here :)

--> How to make a Stele (aka DIY Glowing Tip Wizard / Witch Wand !)

If not mistaken, the stele can be seen/read in all of the books/movies, such as:

  • The Mortal Instruments
  1. City of Bones
  2. City of Ashes
  3. City of Glass
  4. City of Fallen Angels
  5. City of Lost Souls
  6. City of Heavenly Fire
  • The Infernal Devices
  1. Clockwork Angel
  2. Clockwork Prince
  3. Clockwork Princess
  • The Dark Artifices
  1. Lady Midnight
  2. Lord of Shadows
  3. The Queen of Air and Darkness
  • The Bane Chronicles

Read More

Share Tweet Pin It +1

0 Comments

In DIY sessions Youtube video ZoelieWho

Friendship Galaxy Acrylic Painting on Canvas Board | EVERTHING FROM DAISO | DIY

DIY TIME!

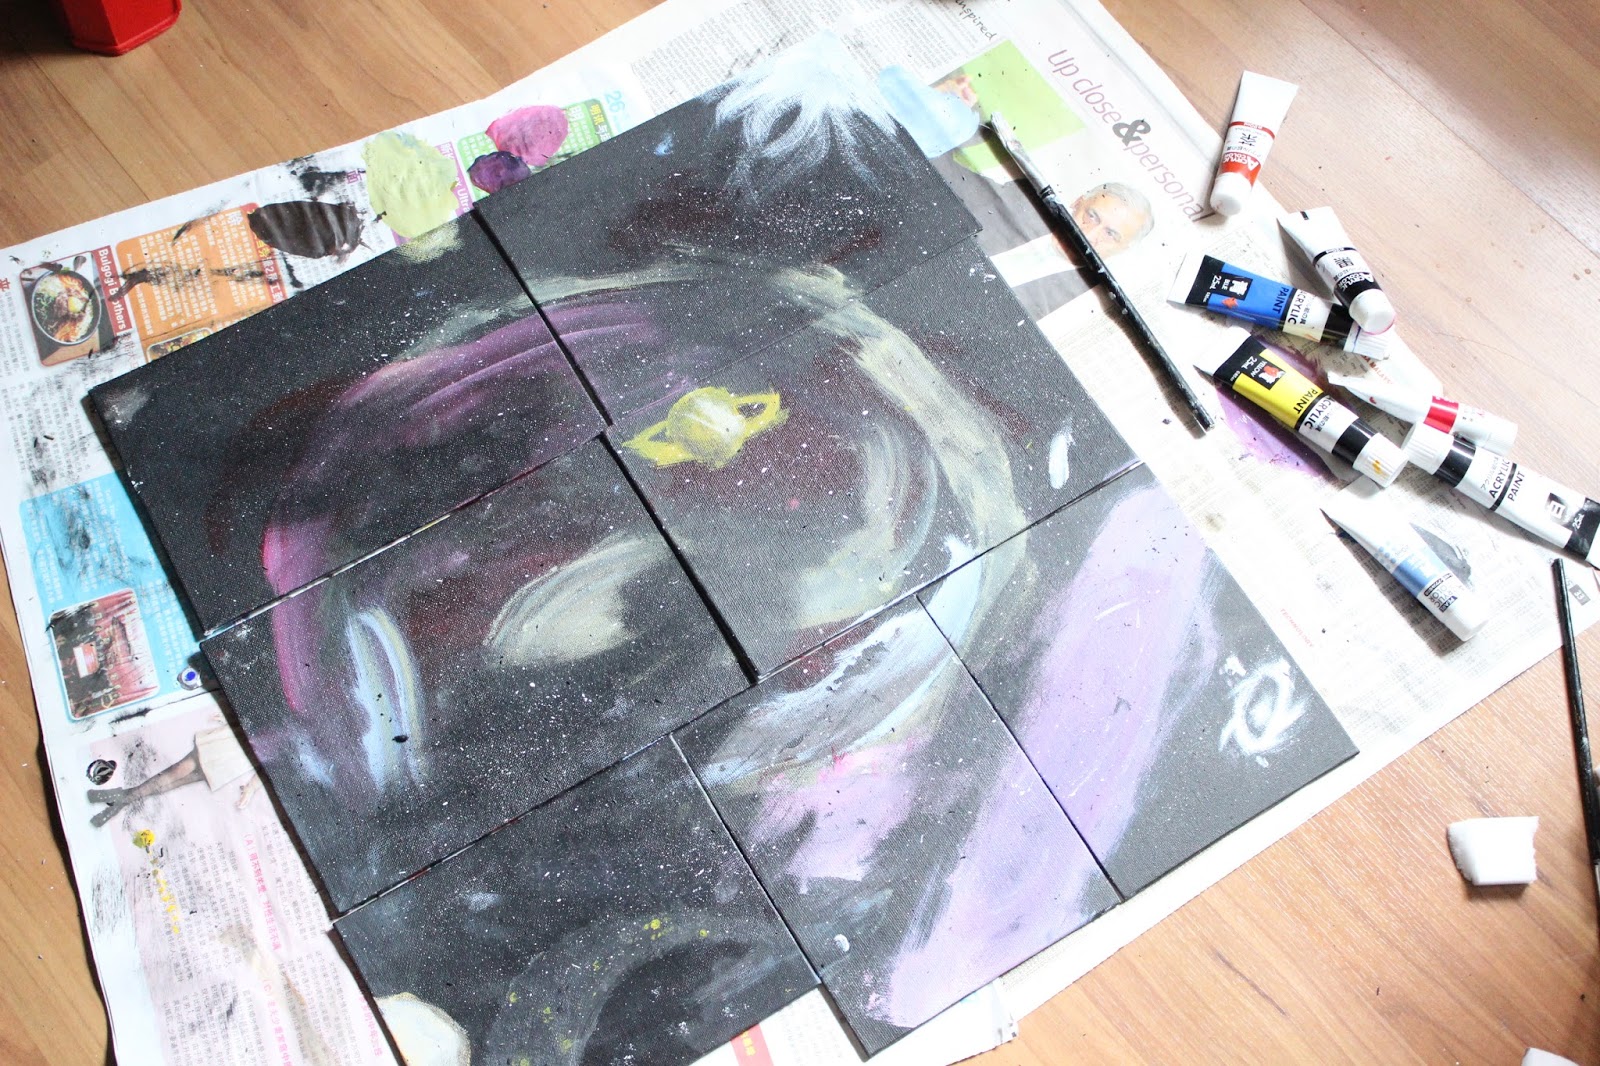
Remember what I did to the mini canvas I got from Art Friends? This time I'm going to do something similar but bigger and flatter!


The idea of this is to imagine yourself painting a wide canvas then cutting them into pieces. You don't need to cut them, you just need to imagine that. Now, the main idea of this DIY project is to give one of your separated art work to your friend(s). It is like giving the second part of your couple keychain to your boyfriend/girlfriend/husband/wife

So here are what you need to do this DIY project :D
EVERTHING IS FROM DAISO! :D
Acrylic/Oil Painting Canvas Board


Acrylic Paints.
I just bought new ones, blue and yellow :)

 Sponges.
I bought the Melamine sponge, which I have no idea why...
I just go for the sizes heheh~

Here's something you don't need or you can't buy in Daiso but you need to it in order to do this DIY project:
-Paint brush
-Newspapers

_______

See how I paint it here! :)
You don't need to follow exactly how I do it, just do it like how you want it to be.


This is my finished work. I got a friend told me that it looks abstract ahahah
(not sure if it mean it looks nice for a painting or I printed it out instead) 

If you're using the exact same kind I got from Daiso, you can turn your boards around and write down what you wanted to write with a permanent marker pen.

___________________________

I'm sorry I could post much or type more than before as I'm having my exam right now and I'm making sure that the blog is updated.
I used a lot of time editing the haul video because it was too long, at first, then it took me about half a day to edit the video for this one. The video for this DIY was supposed to be 26minutes long with a lot of unwanted parts, so I did my best to make it less than 5.5 minutes.

I do hope that you can leave some comments here or in the comment box for my videos. I'd love to know how you think about them :)

-- D-TTO --

Read More

Share Tweet Pin It +1

0 Comments

In DIY sessions ZoelieWho

Galaxy Acrylic Painting on small canvas

Haloooooo guys :D Last weekend, I went out with Chyng and some other friends to hangout for a bit and then I went to Art Friend and got myself these small canvas :)

Small canvas about the size of 6-9cm cost about RM2.40+ each. These little things are cute :D

I will be painting them with black acrylic colour first before any other colouring. Its easier this way.

Pain all of them, I even painted the sizes so that its less 'edgy'.

I also went to Daiso and grabbed two colours. And I got the wrong blue....  But, oh well, creative people have ways to solve that problem :)

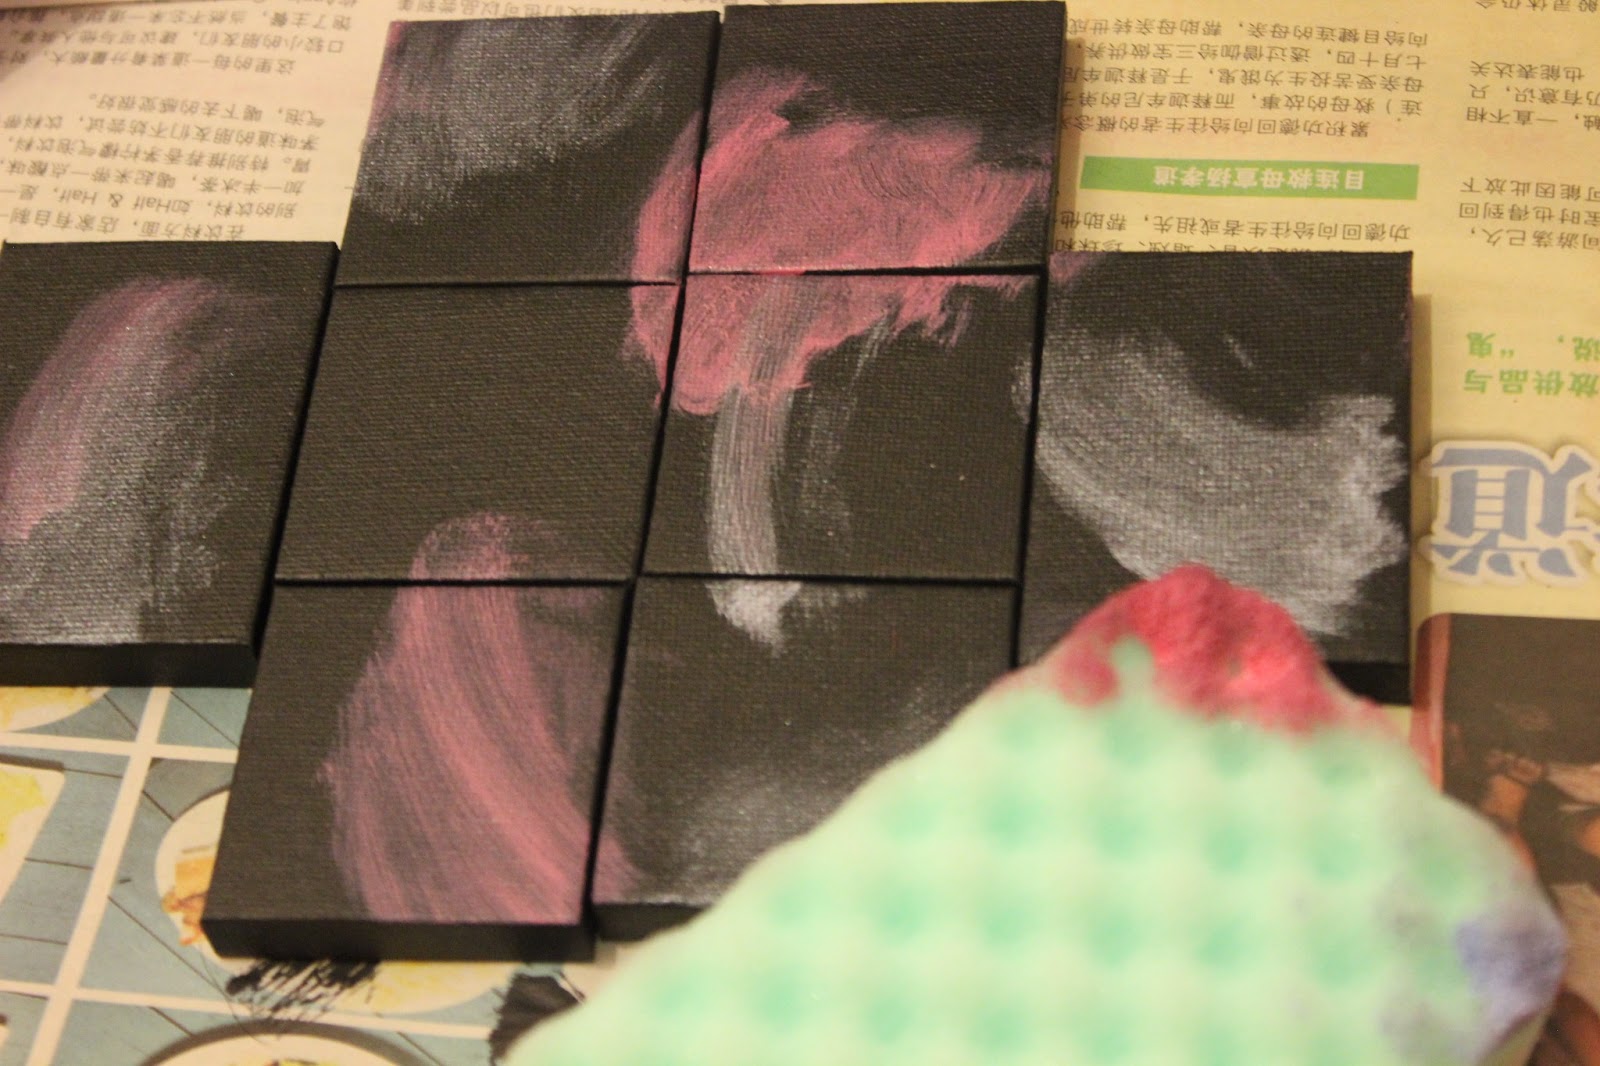
And now when the canvases are dried up, I'm gonna arrange them in this way.

I started by mixing colours. This one here is a mixture of Carmine and White.

With the sponge, I gently paint the acrylic colours to the canvases, randomly.
You don't need to follow steps or whatever cow poop, just follow your instinct :D

And here, you'll see a coloured sponge, an almost-done art work and a paper used as colour plate. Why? 'Cause you don't need to wash it and I'm reusing the torn mail.

Lastly, dip your brush into the white colour then/or black and just rub the tip to give it more starry effect.
This will make your artwork more 'galaxy-ish'

And here is my finished Galaxy Acrylic Paint on small canvas.
Not perfect but satisfying :)

The big round-ish thing on the right is a failed 'black hole' I gently and carefully dip the dark grey in the middle and slowly brush the black around it with my finger.

Until now, I still don't know how to hang it or use it as deco in my room. I still left it there. Hah. I won't torture art pieces, no worries.
_________________________________________________
Hope it helps you, even if its a bit. 
Tell me how do you think about this :)
I'd love to hear from you.

-- D-TTO --


Read More

Share Tweet Pin It +1

0 Comments

In DIY sessions ZoelieWho

DIY Glowing Tip Wizard / Witch Wand !

This post includes: List of spells, tutorial, me first time showing on this blog,  list of materials, my doggy possessed and most importantly, DIY
______________________________________________________
HARRY POTTER is still our favorite and its the highest grossing film series of all-time! People usually cannot forget what had happened in the book or the movie, especially spells! (Wingardium Leviosa!)

Now, I'm being honest here, not that I'm an anti-fan or whatever, but I'm not very very very very very crazy for Harry Potter. I consider myself as.. I-know-this-film-and-I-know-some-details-too person. For example, people's name (like Hagrid's, Malfoy's, Fred and George, etc), spells (LUMOS MAXIMA!), pets (Hedwig), Hogwarts (Gryffindor vs Slytherin!), and so on.

However, being a not-so-crazy-for-Harry-Potter fan doesn't mean I'm not crazy for the magical things like wands! :D I love wands. In fact, I searched all over the internet to know how to make wands. Most of them made wands out of paper and hot glue but I thought I might be too plain. And so, I add a little creativity in it and made this.

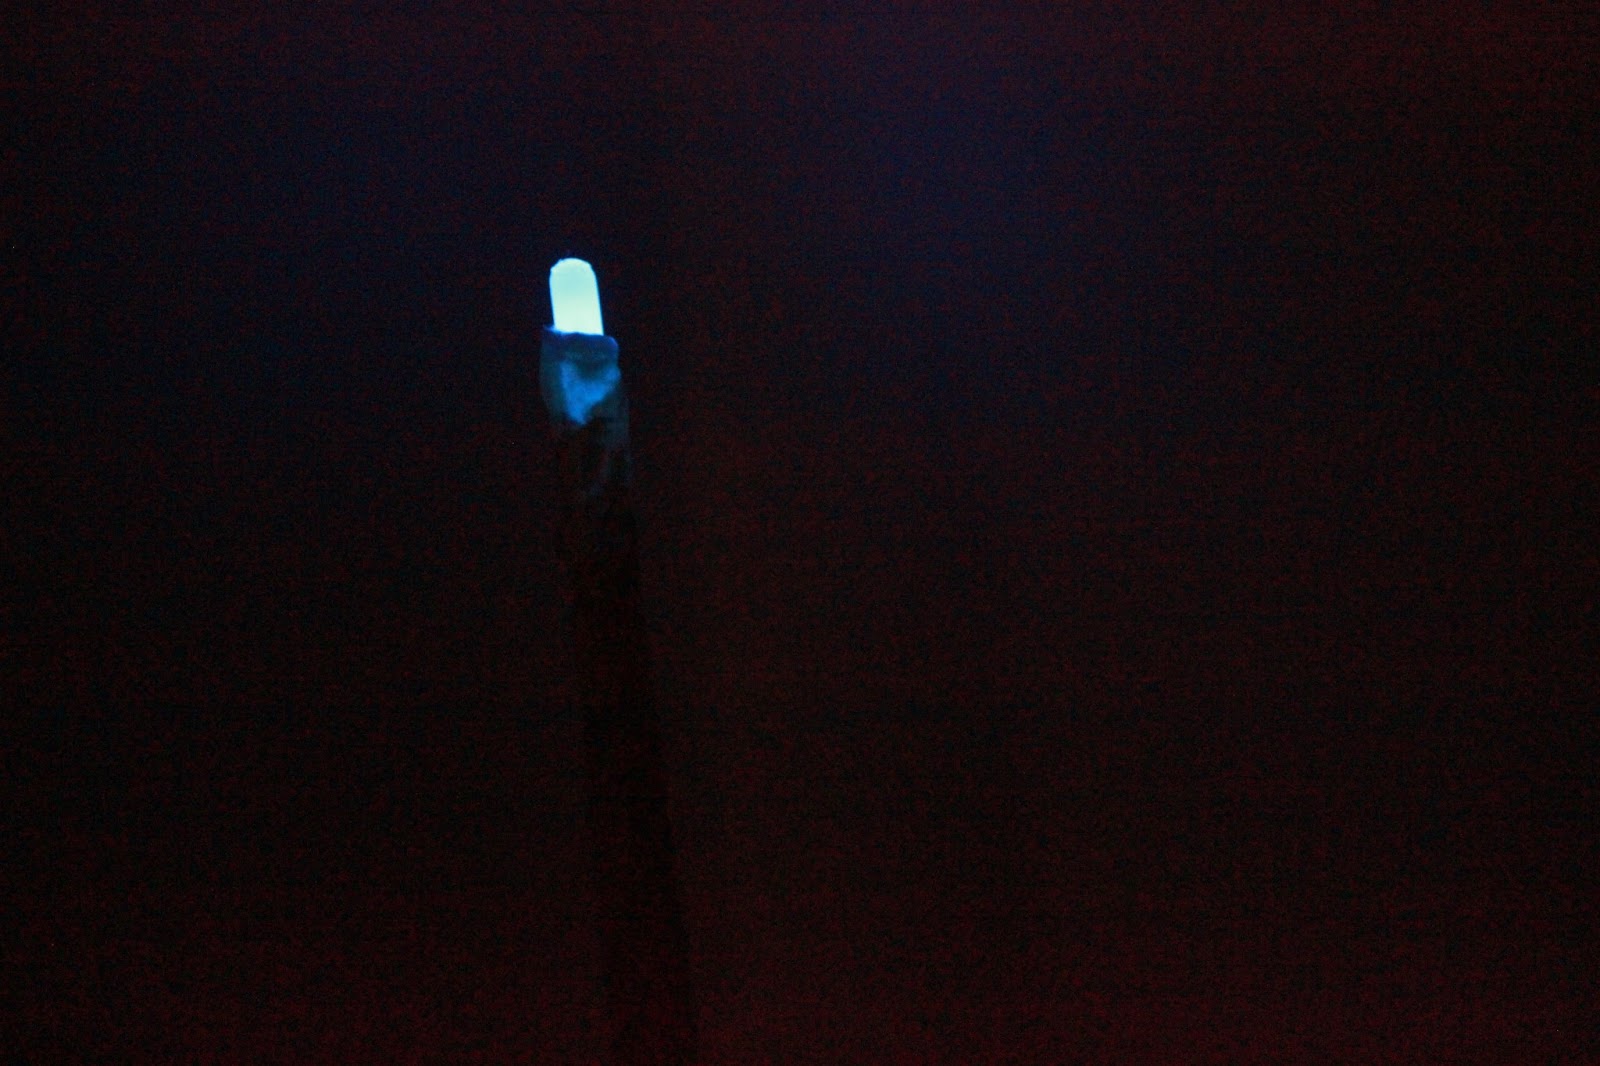
TA-DAH! IT GLOWS IN THE DARK!


Here are some of the other wands that I made into a hanger :)

Love it? If you do, then here's how to make it :)

Here's what you need:
-Paper (any length you desire)
-Hot Glue Gun + Glue Stick (any stationary store has it)
-Glowing Stick (I bought them from Daiso, but it's actually quite pricey for 4 glowing sticks :/ )
-Acrylic Paint ( You can get them from Daiso. It's enough for a lot of DIY stuff :) )
- Newspaper ( Trust me, you need them very, very much.)

[Imma gonna teach you the basics first :)  with ]
-Stick (preferably wooden stick. But you can recycle your pens that are already running out of ink)

:::::::NOTE:::::::
* The length of the paper, the angle of the stick on the paper before rolling and the way you roll decides the length of your wand
*Glue Gun tip is the hottest part of the tool. BE VERY CAREFUL
*Hot Glue burns your fingers, be careful with the spot you just glued
*Hot glue may be very difficult to be cleaned
* You are highly recommended to use newspaper or any unwanted thing to be the base of your workplace. Smooth surface is better than rough ones. Example: manila card, plastic sheet, etc

Don't freak out, you need to know the basics first.
AND, it may be messy too if you won't be careful.

[This is just the very small part of the messiness I've made :3 ]

Basic Paper Wand Making Method
 The things you need are :
Glue Sticks 
Hot Glue Gun  (any stationary shop has it)
 Paper
 Stick
 OR
Ran-out-of-ink Pens (yea I've got plenty)
MahJong paper, Newspaper, whatever you got ;)
 Acrylic paints from Daiso
 Paint Brush

Firstly, place your "base" paper

Then Switch the electrical switch on so that the glue can melt while you wait
The reason why you need the paper is that the glue may be leaking while heating :/


Place your stick with the 'perfect' angle. (It does affect the size and shape so roll it before you glue it)
Glue the side of the stick so that it will stay in place

 Roll the paper over and run your fingernail across the side of the stick, on the paper.

Glue it while rolling it, it'll make things easier :)

When you're done rolling, press it gently with the glued section down. The 'freshly' melted glue burns your fingers badly if you touch them.

You might get something like this but NO WORRIES.
THIS is handmade 'mah'

Now, think of the colour you wanted to paint on your wand

I like mine Gray-ish gold :)
 

Paint the first half of your wand, including the 'hole'

 After the first half dried, paint the remaining

 Wait till it dries and then paint a second coat. You need the second coat because usually, the first coat won't cover the whole thing.

 Be careful with the gun (especially the TIP!!). Slowly, from inside out, fill the 'hole' with the melted glue
 It should be like this. You can manipulate it too :)

This is what will happen if you aren't patient enough to wait for it to dry. UGH.

Slowly fill the another 'hole' too.

I didn't fill it until it's full. I let it be this way and pinched the outline for a better shape ( the one that I wanted)

 There is a different type of glues out there. By different, I meant QUALITY. But then again, some of them are good for some colours or designs :)

Carefully, follow the lines and glue them. You wanna cover them nice and perfect.

Draw and design how you want your wand to be. There might be some 'glue floss' but its okay, you can just pull them out without destroying the piece. Well, it's actually depending on your strength.

My wand is now complete, and yours should be too :D
Its a little weird, I know, but what's 'crafted' on it can be some sort of language *chuckles* Imaginations hah

OH! OH! You can also cover your glue-patterns with paints if you don't like the colour :)
I like it just like that.
 

 Advanced Wand Making Method
with glowing sticks 

Now, you need to know about these plugs that can be found in the package you bought. (Glow Sticks)
The one on top (A) is better than the one below (B) because:
1. A has something to stop in the middle and B does not. Which may cause the glow stick being glued while you're glueing the 'hole'
2. A is from Daiso and B is from some night market sellers. Which also means that A is the good quality one with the perfect size for the glow stick to be 'plugged in', while B is not.
  
You need these because you'll have to change the sticks when they don't glow anymore.

 So yea, I'll be using the glow stick from Daiso

For this one, DO NOT GLUE THE SIDES OF THE GLOWING STICK. You need to change it when the stick doesn't glow any more.

While you roll, when the paper meets the plug, glue the sides of the plug to let it stay that way.

Like the basic one, glue it once in a while so that it will stay that way.

You may encounter a problem like this, which is that the paper will over the top of the stick if you keep rolling. Be noted that you need to have at least 0.5cm of the stick sticking out of the hole. So that you can change the stick.

Now, all you have to do is to fold the rest of the paper to the side of the stick

TADAAAAAH and you're done rolling the paper
( rolling in the deeeeeeeeeeeeeep)

Now, take the stick out 'cause we're gonna glue the bottom then paint the body XD

You'll have to do this because you need the plug to stay EXACTLY where it is :)

If you don't like how the bottom part shapes like, you can always cut it :)

After that, start painting it with the first coat, then second.

 You are advised to glue the side of the tip of the wand so that it won't break when you're inserting the glowing stick

 TADAAAAAAAH  you're done! :D
How do you think about my second glowing wand? :)

 You can now take the stick out (if you tried to put it in) and give it a good CRACK! :D


Then put the stick back and enjoy watching it glow awesomely! :D

(see the middle part of it glowing? OwO )


And here's me modelling it HAH! XD


And here's my doggy being possessed by me! :D


A few days later, I made another one with much more thin paper

This one is a little bit too thick. So It doesn't glow like what I wanted.
But because the plug is inside, I need to cut the paper and take it out, which 'cause this.

I love this one very much 'cause it looked so lovely and cotton candy :3

I made a thinner one by rolling only one part of the paper and tear the rest of it out.

Another cotton candy :3

This is how it looks like. The size is perfect for little kids, you know when you invite children to come over your house for your child's party, wizard theme ;)


Hope you enjoy your DIY session.
Start showing your friends about this post so that you guys can AVADA KEDAVRA .. or something less dangerous hehe
Also, you can show your wands to your friends to let them know your DIY skill! :D

Here 's a list of spells: Aparecium!

- D-tto -
All pictures' rights reserved *smirk*


.
This can also be the stele of nephilims aka Shadowhunters in Mortal Instruments.
Instead of a cylinder shape, DIY-ers can make it more square-ish.

Read More

Share Tweet Pin It +1

0 Comments